Laser EngBest Boyfriend Certificate for Valentine's Day
by thunderlaser-nolan in Workshop > Laser Cutting
21 Views, 0 Favorites, 0 Comments
Laser EngBest Boyfriend Certificate for Valentine's Day

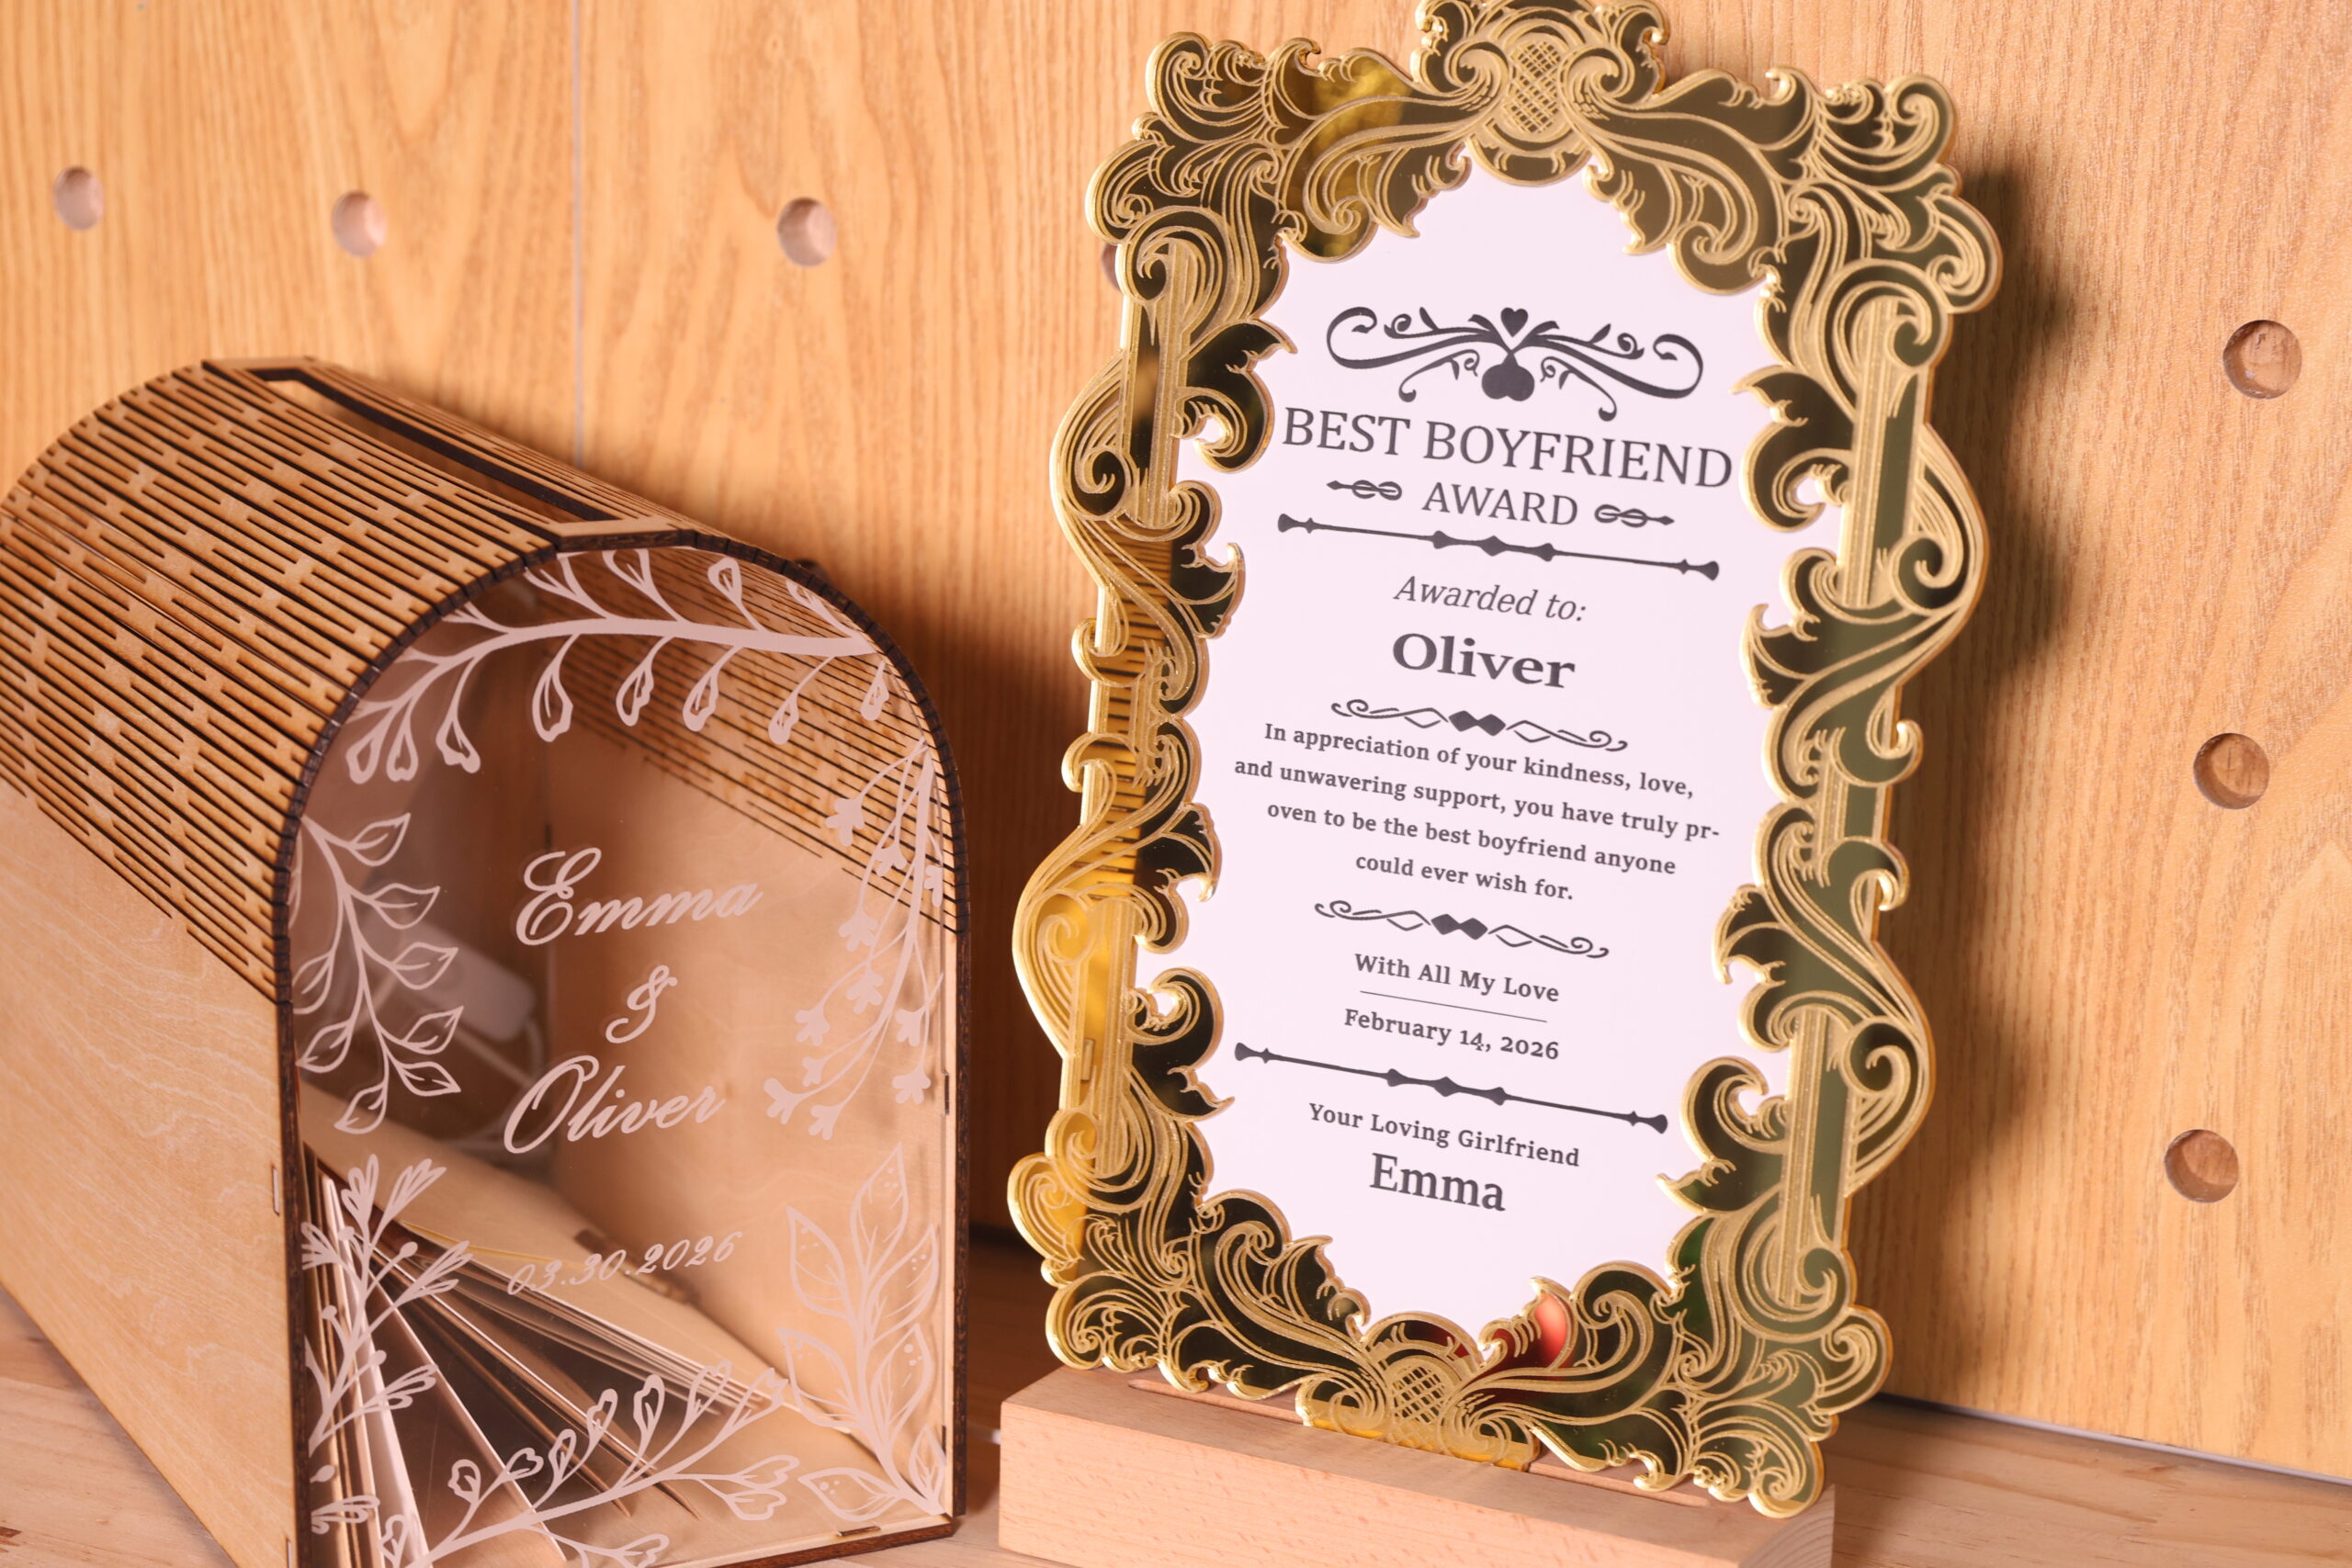
Some awards don’t need a stage or a ceremony—they’re meant to be personal, playful, and memorable. A custom laser-cut trophy is a simple way to turn a message into something you can actually place on a desk or shelf.
In this tutorial, you’ll learn how to create a “Best Boyfriend” trophy using ABS and acrylic. It’s a playful project with room for customization, making it easy to change the text, shape, or design to fit your own story. Whether it’s meant to be funny, sweet, or both, this trophy turns a simple idea into something personal.
Supplies
Machine Used
Thunder Bolt 30W
See more details about this machine→
Material Needed
3mm Plywood
Settings
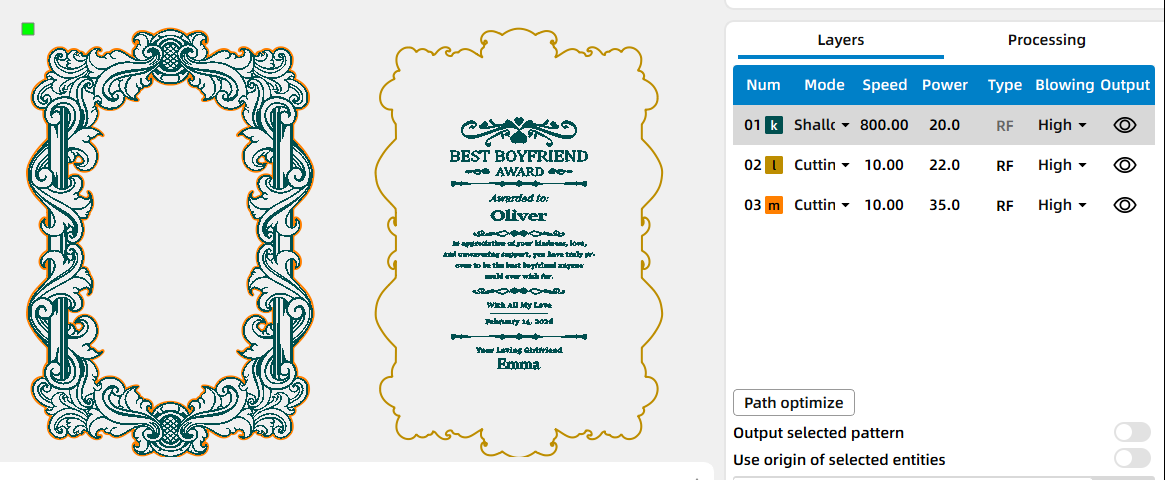
Engraving
- Speed: 800mm/s
- Power: 20%
- DPI: 300
Cutting Acrylic
- Speed: 10mm/s
- Power: 35%
- Passes: 1
Cutting ABS
- Speed: 10mm/s
- Power: 22%
- Passes: 1
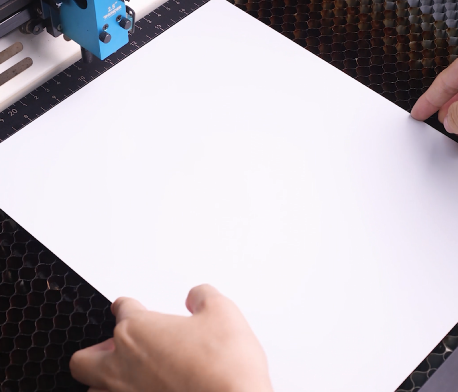
Place the Material on the Laser Bed
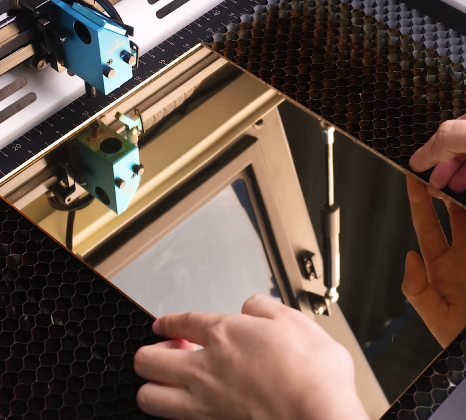
Place the ABS sheet and acrylic sheet flat on the laser bed. For mirror acrylic, we generally recommend engraving and cutting with the mirrored side facing down to reduce reflection and protect the laser optics. However, for demonstration purposes, we pre-treated the surface by applying a thin layer of foam water to reduce reflection, then engraved with the mirrored side facing up. You can choose the method that best suits your needs, depending on your material, machine setup, and desired results.
Make sure both materials are clean and properly secured to prevent movement during engraving or cutting.
Open the File and Check the Settings
Open your laser software (I use LaserMaker) and import your engraving file. Adjust the size and positioning so the design fits your material dimensions. Before starting, double-check your engraving parameters to ensure clean and readable results.
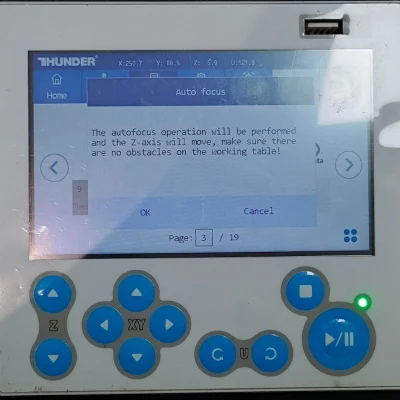
Focus Your Laser Machine
Focus the laser to the surface of the wooden guitar picks. Accurate focus is important for achieving sharp details and consistent engraving depth.
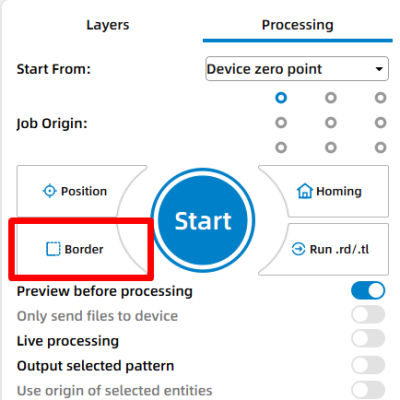
Frame the Design and Start Laser Engraving
Use the border or frame function to preview the working area. This helps confirm that the design is correctly aligned before starting the job.
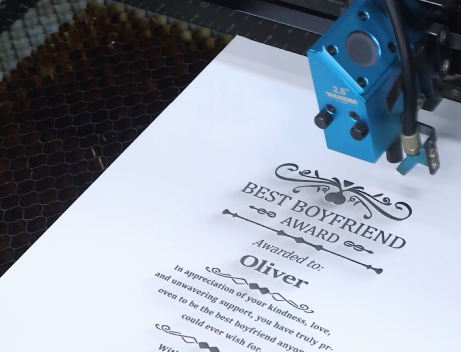
Monitor the Laser Engraving Process
Stay close to the machine while it’s running and watch the engraving progress. Keep an eye out for excessive smoke, small flame-ups, or any movement of the material that could affect the outcome. Make sure your workspace is well-ventilated.
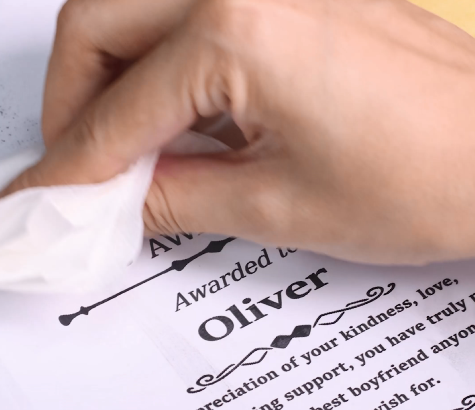
Clean Off Residue
Once engraving is complete, remove them from the laser bed. Gently wipe away any dust or residue using a soft cloth or tissue to reveal the engraved details clearly.
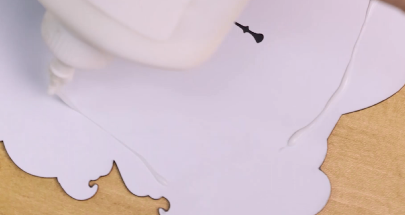
Stick Them Together
Once all parts are finished, remove them from the laser bed. Align the ABS and acrylic components according to the design. Apply a small amount of white glue to the contact areas, then press the pieces together firmly. Hold them in place for a moment to ensure proper bonding, and allow the glue to dry completely before handling the trophy.
Complete the Task
Your custom laser-cut trophy is now complete. Wipe away any residue, check the fit, and place it where it can be enjoyed.