Laser Cut a Permanent Golden Maple Calendar
by thunderlaser-nolan in Workshop > Laser Cutting
13 Views, 0 Favorites, 0 Comments
Laser Cut a Permanent Golden Maple Calendar

The start of 2026 is a good moment to slow down, reset routines, and bring something fresh into everyday life. Creating a new calendar is a simple way to mark that transition—not just to track dates, but to begin the year with something made by hand.
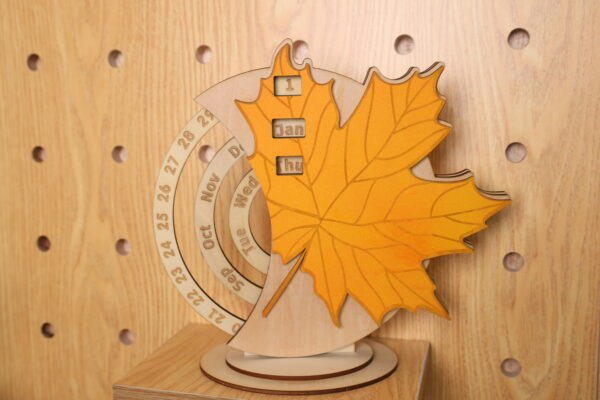
In this tutorial, we’ll walk through how to laser cut a maple leaf–shaped calendar. The project focuses on clean cutting, light coloring, and easy assembly. Once finished, it works naturally on a desk or shelf, helping you keep track of days while starting the year with a calm, hands-on project.
Supplies
Machine Used
Thunder Bolt 30W
Material Needed
3mm Plywood
Settings
Cutting
- Speed:10mm/s
- Max Power:25%
- Min Power:10%
- Number of Passes:1
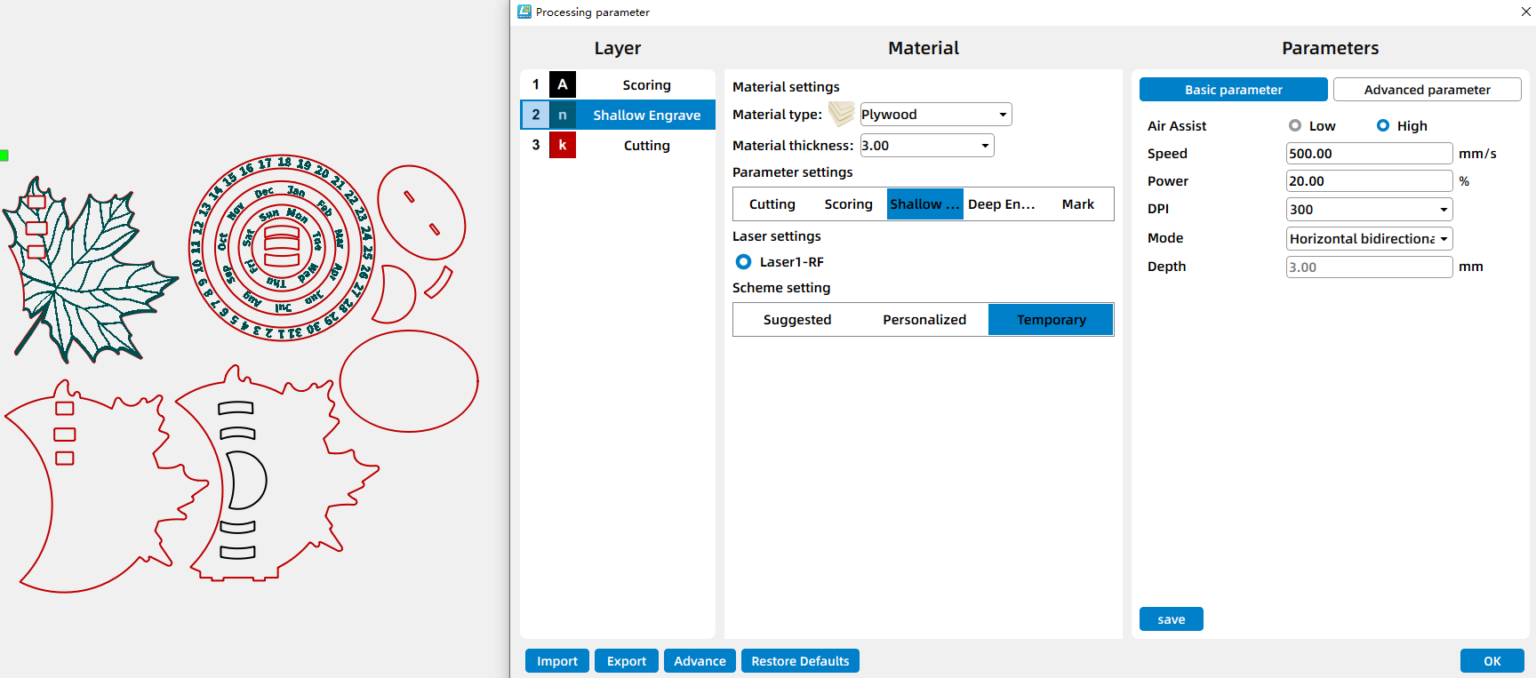
Shallow Engraving & Scoring
- Speed:500mm/s
- Power:20%
- DPI:300
Downloads
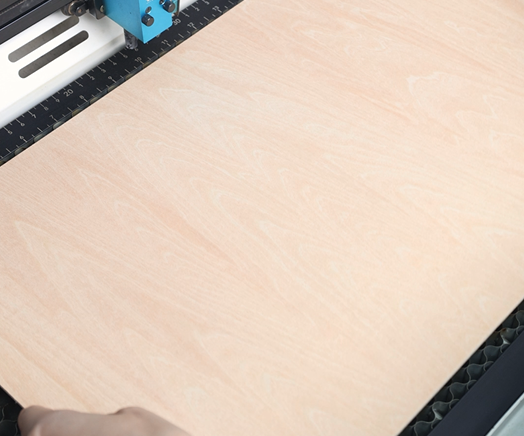
Place the Wood on the Laser Bed
Position the wood sheet flat on the laser bed. Ensure the material is clean, level, and securely placed to avoid shifting during processing.
Open the File and Check the Settings
Open your laser software(I use LaserMaker) and import the maple leaf calendar design into your laser software. Adjust the layout so it fits properly within your material size. Before moving on, double-check your engraving and cutting parameters to match the thickness and type of wood you’re using.
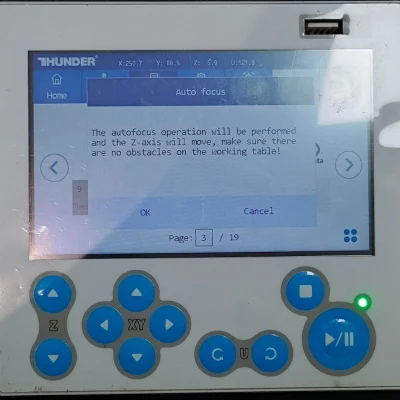
Focus Your Laser Machine
Proper focusing ensures neat, polished edges. If your machine has auto focus, use it for quick setup. For manual focusing, lower the laser head with the focus stick until it touches the wood surface at a perfect angle. Always double-check before cutting.
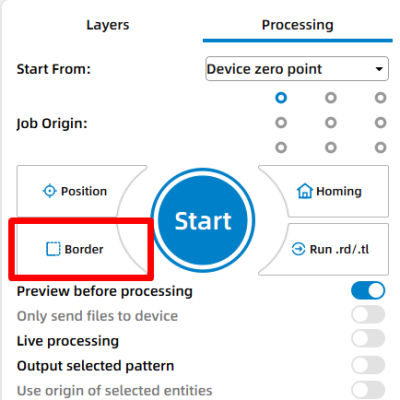
Frame the Design and Start Laser Cutting
Then click “Frame” or “Border” to preview your cutting area and make sure the design fits nicely on your board. This confirms your material placement and avoids wasting wood. Adjust as necessary. Once everything is set, start the laser job.
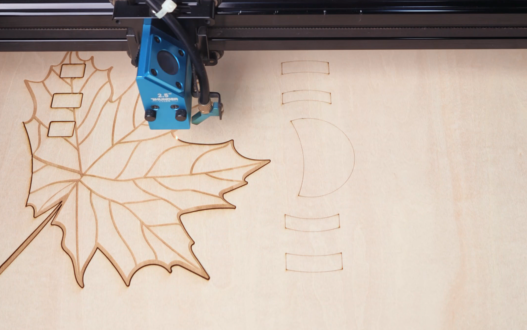
Monitor the Laser Cutting Process
Stay close to the machine while it’s running and watch the cutting and engraving progress. Keep an eye out for excessive smoke, small flame-ups, or any movement of the material that could affect the outcome. Make sure your workspace is well-ventilated, and rely on air assist if available to achieve cleaner edges on the wood.
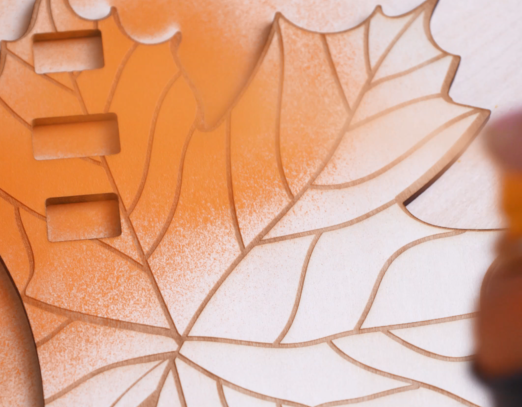
Apply Color
After cutting, remove the parts and apply paint or stain as desired. This step helps highlight the leaf shape and adds a personal touch to the calendar.
Assemble the Calendar
Once the paint is dry, assemble the calendar components according to the design. You can use wood glue to help. Press each piece firmly and allow the glue to set, ensuring the structure is stable before moving on.
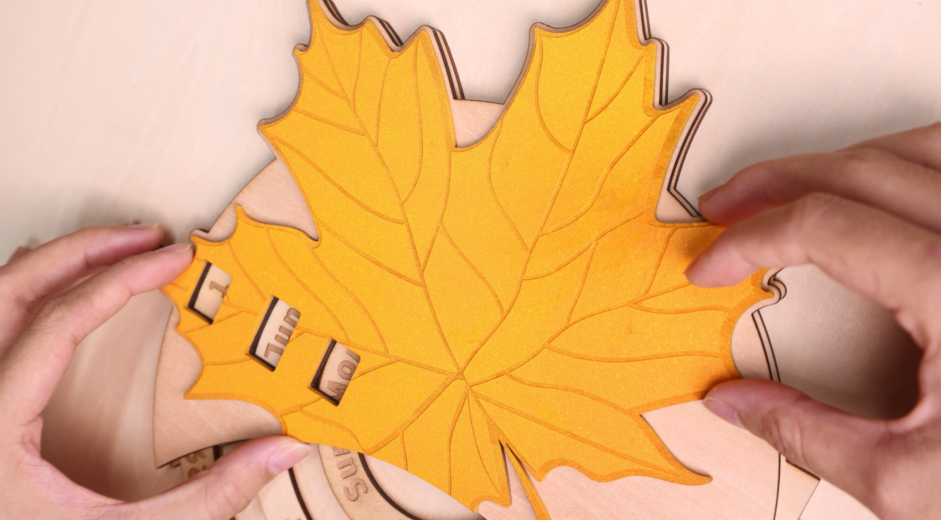
Complete the Task
Inspect the assembled calendar for alignment and stability. After final adjustments, the maple leaf calendar is ready for display or use.